

Hot chocolate bombs (hot cocoa bombs) are SO popular right now, but did you know they are SUPER easy to make? They are! You don’t need much and most of the appeal is just how pretty and fun they can be! You can use just about idea and turn it into a fun hot chocolate bomb – so we did rainbow! These are a great way to use up sprinkles, so grab the supplies you need and start making these! They make AMAZING gifts for any occasion!

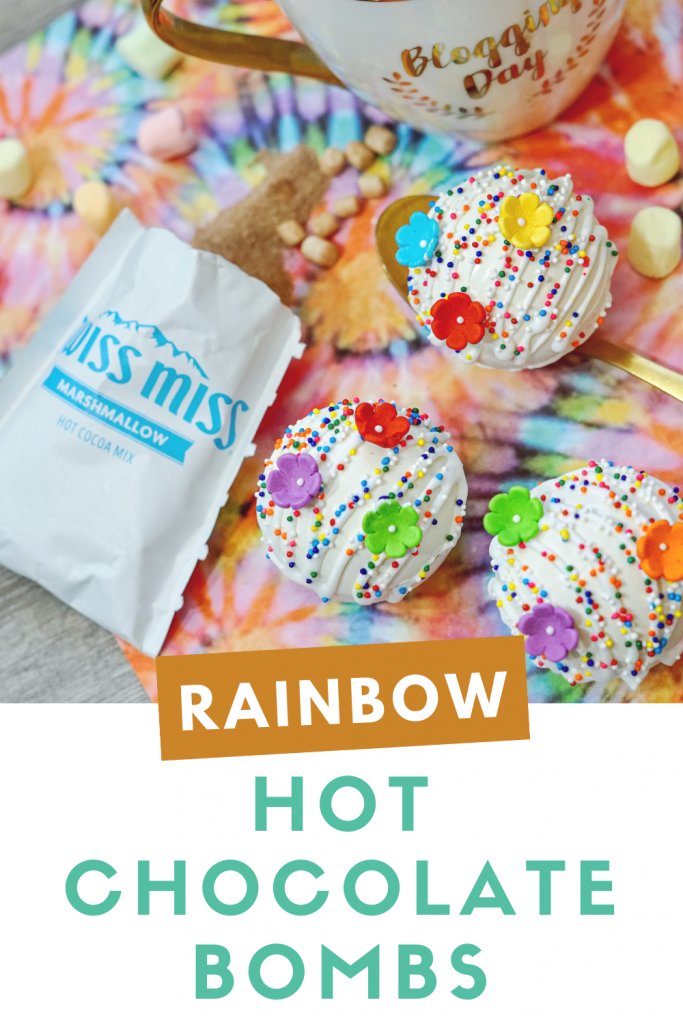
Rainbow Hot Chocolate Bombs
Ingredients
- 12oz Bag White Candy Melts
- Candy Flower Toppers (Walmart/Michael’s/Hobby Lobby)
- 1 Tbsp Hot Chocolate Per Bomb
- Rainbow Colored Mini Marshmallows
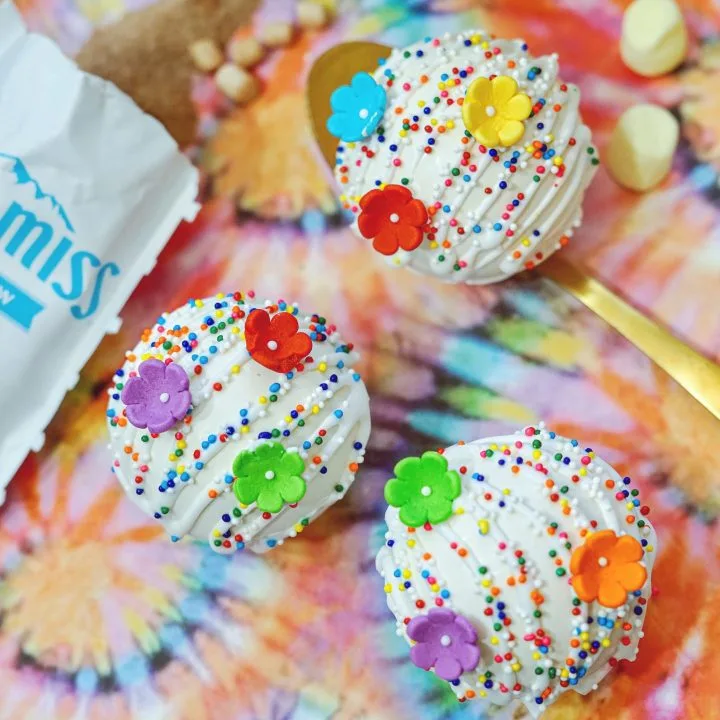
- Rainbow Sprinkles
- 6 Sphere Silicone Mold
Instructions
Pour candy melts in a microwave safe bowl and heat for 30 seconds or until melts have fully melted.
Spread the candy melts up the sides of the mold until every bit of the mold is covered (use a cheap paintbrush for this!)
Let the molds sit about 5 minutes & re-spread any of the candy melts that sank to the bottom of the molds.
Place the molds in the refrigerator for about 30-45 minutes.
Once set, carefully remove the candy melt spheres from the mold.
Fill half of the spheres with the hot cocoa powder, marshmallows and sprinkles.
Place a glass plate in the microwave for one minute.
Remove the plate and immediately place each empty sphere on the hot place to heat the chocolate edges.
Place each heated sphere on each filled sphere. You can use the tip of your finger to smooth the melted candy around the seam.
While your cocoa bombs set, re-heat the left over candy melts.
Using a piping bag or a baggie with the end snipped off, swirl the top of each sphere with candy melts.
While the Candy is still hot, sprinkle away. The candy melts will act as a glue.
Use the heated candy melts as a glue to place the flowers on the hot cocoa bombs.