

Cold and flu season is upon us and, well, it really stinks. The coughing, the sneezing, the feeling of not being able to breathe or sleep… oh yea, you know what I mean.
There are a few things that are comfort items when sick, and I know for me one of those things is VapoRub. It’s soothing and helps your breathe and get the rest you need to get better.
I love making these DIY Vapor Rub shower steamers and keeping them in the freezer.
These can be used with kids too, just turn the shower on with the steamer on the floor of the tub and have them sit beside the tub and just relax and breathe.
Yields: 8-12 (depending on size of mold you use)


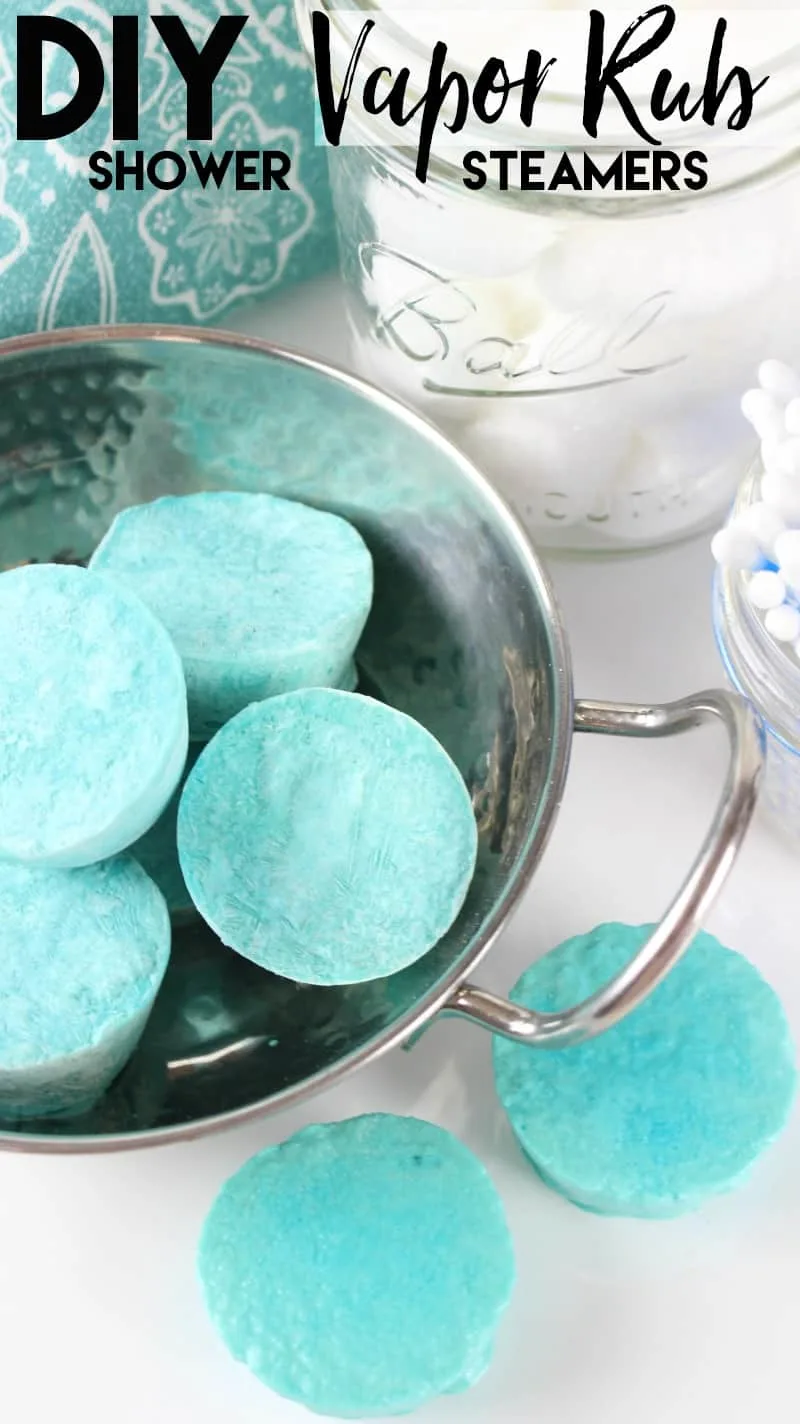
DIY VapoRub Shower Steamers
Homemade VapoRub shower steamers
Materials
- 3 Tablespoons Vicks Vapor Rub
- 1 cup cornstarch
- 5-6 Tablespoons water
- Blue and green soap colorant
Instructions
- In a medium mixing bowl, add the cornstarch, vapor rub and 4 Tablespoons of water. Stir well to mix the ingredients.
- If the mixture still seems too dry, add more water as needed (up to 6 Tablespoons) until a thick paste forms.
- Drizzle 3-4 drops of the blue and the green soap colorants into the mixture and stir until you achieve your desired color.
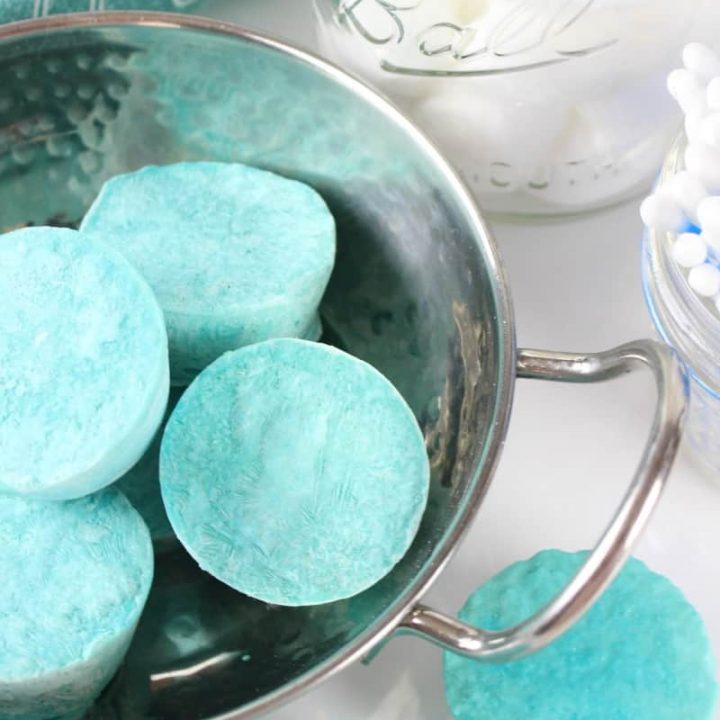
- Transfer the vapor rub paste into your silicone molds, filling up to the top of each mold.
- Freeze for 2 hours to allow the vapor rub shower steamers to harden.
- Once frozen, transfer to an airtight container or plastic Ziploc bag. I keep mine in the freezer until ready to use.
HOW TO USE
Place one vapor rub melt on your shower floor and allow the hot water to run over it. This will activate the vapors from the Vicks rub to cause a steam in your shower that will help ease a cold or congestion. ENJOY!